
File Upload in PHP: Uploading files is a common functionality in web applications, and PHP provides a straightforward way to handle file uploads. In this article, we’ll explore the basics of file uploads in PHP, including creating an HTML form and processing the uploaded files on the server side.
Using this PHP file upload Script, You can upload different types of files like jpg, png, gif type image upload, pdf, doc, PHP, HTML, CSS, zip, txt, excel, CSV, etc.
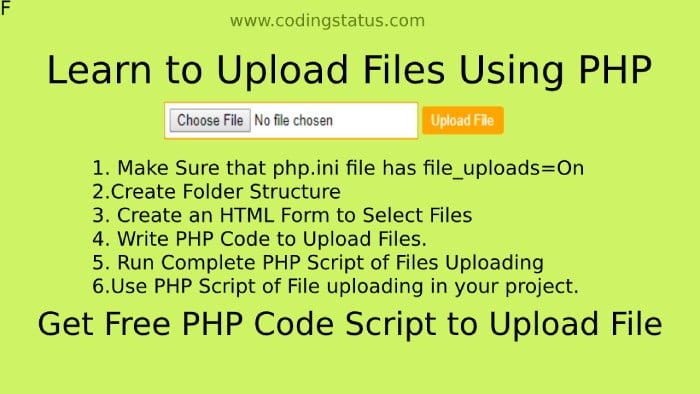
How to Upload Files in PHP
Now, Get started coding to upload a single file at a time using php
You should also learn the following examples –
- Upload Multiple Files to database using PHP
- Single Image Crud Operations using PHP
- Image Upload Rest Api using PHP & MySQL
1. Create Folder Structure
First of all, You have to create the following folder structure –
myproject
   |__uploads/
   |__upload-form.php
   |__upload-script.php
   |
2. Upload Files with Form
This HTML form uses POST method, enables file uploads with “multipart/form-data” encoding, points to “upload-script.php” for processing, and includes a file input and a submit button.
File Name – upload-form.php
<form method="post" enctype="multipart/form-data" action ="upload-script.php">
<input type="file" name ="file">
<input type="submit" name="submit">
</form>
Explanation –
- The HTML form uses the POST method, allowing data to be sent in the request body.
- The form’s
enctypeis set to “multipart/form-data” to enable file uploads. - The form action attribute is set to “upload-script.php,” indicating where the form data will be sent.
- An input field of type “file” named “file” allows users to select a file for upload.
- A submit button with the name “submit” triggers the form submission.
2. Upload Files Script
The PHP code handles file uploads when a form is submitted, checking for file type validity and moving the file to a specified directory, with messages returned for success or specific errors. It also includes commented sections for potential database integration.
File Name – upload-script.php
<?php

// uploading files on submit
if(isset($_POST['submit'])){

    //  uploading files
    $msg= upload_file();
    session_start();
    $_SESSION['msg']= $msg;
    header('location:upload-form.php');

}


function upload_file(){

    $uploadTo = "uploads/";
    $allowFileType = array('jpg','png','jpeg','gif','pdf','doc');
    $fileName = $_FILES['file']['name'];
    $tempPath=$_FILES["file"]["tmp_name"];


    $basename = basename($fileName);
    $originalPath = $uploadTo.$basename;
    $fileType = pathinfo($originalPath, PATHINFO_EXTENSION);

    if(!empty($fileName)){

       if(in_array($fileType, $allowFileType)){

         // Upload file to server
         if(move_uploaded_file($tempPath,$originalPath)){

            return $fileName." was uploaded successfully";

           // write here sql query to store image name in database

          }else{
            $error = 'File Not uploaded ! try again';
          }
      }else{
         return $fileType." file type not allowed";
      }
   }else{
    return "Please Select a file";
   }

}
?>
Explanation –
My Suggestion
This code will work when you select a file from your computer and click the submit button. This code can only upload a file to a folder. You want to upload to the database as well then you will have to write SQL code within the line of code where the file will be uploaded successfully.
Now, You can use this code in your project if you want to provide a feature to upload a single file at a time. You can also set the file type according to the project requirement.