
In this tutorial, You will learn to install the latest Laravel and create a laravel project step by step. Once you learn it, you can quickly create any kind of new project in the laravel framework.
Install Laravel and Create Project
Before installing laravel and creating a project, make sure that the composer and xamp or wamp server must be installed in your system,
If you have already installed the composer then you can check it by just running the composer command in your terminal.
If the composer is already installed in your system then you will get its complete details. Otherwise, If It is not installed then you will get a message like ‘composer’ is not recognized as an internal or external command.
Note – To install laravel, your system must be connected to an internet/wifi
You can install laravel and create a project using two ways
- laravel installer
- composer create-project
You can use one of the above ways. Both are absolutely correct and easy to use. So, Let’s understand it separately from the next step.
Laravel Installer
First of all, you have to install laravel using laravel installer by running the following commnad in your terminal
composer global require laravel/installer
After that, you can create a new project with the following command
laravel new projectName
To check laravel installer is exist or not in your system, you have to just run the following command
laravel
To remove laravel installer, you can run the following command
composer global remove laravel/installer
Composer create-project
If you want to install laravel using composer create-project then you will have to run only the following command. This command will works for both installing laravel and creating a new project.
composer create-project --prefer-dist laravel/laravel projectName
Common Error on Installing Laravel
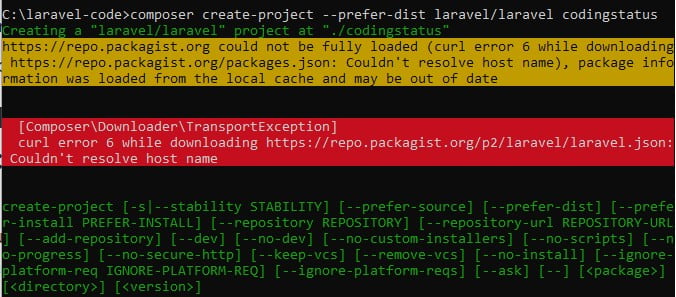
While you are installing laravel, you may get the following error due to no internet connection. To resolve this error, first of all, connect your system to an internet then run again the laravel installation command.
While you are installing laravel, you may ask to enter an access token, if you don’t enter any value or invalid value then you will get the following error.

To resolve the above error, Run again the laravel installation command. Yet It will not be resolved then implement the following steps –
- You will have to copy github url as shown in the above figure sorrounded by a red line
- Then paste into your web browser and press enter key
- After that, github login page will be appeared, just login to github with your git account credentials
- You will see “New Personal Access Token”
- Click the generate token button without changing anything.
- Then you will get a new access token, just copy it and paste into your terminal
Steps to Create Laravel Project
Now, Let’s create a new laravel project with the help of the following steps –
1. Connect to Internet/WiFi
First of all, connect your system to an internet or wifi. If you have already done it then you can skip this step. and implement the next step.
2. Install Composer
As laravel project is created using the composer, you must download its official website getcomposer.org
If you already install it then you can skip this step.
To conform its installation you can run the following command in your command terminal
composer
3. Go to Root Directory
You can create laravel project anywhere in your system. But I recommend you should create project by creating a parent folder.
Here, I have created a parent folder with the name laravel-code in the c drive. So, I am going to the follwoing root directory.
c:/laravel-code>
4. Create Laravel Project
Now, Create a new laravel project with the name of codingstatus by running the following command in your terminal
c:/laravel-code>composer create-project --prefer-dist laravel/laravel codingstatus
After running the above command, you will have to wait a few seconds to complete installation process. Its installation speed will be depend on your internet connection.
Note – You can put your own project name instead of codingstatus
5. Start Development Server
After successfully installed laravel project, You have to start development server by running the following command in your terminal
c:/laravel-code>php artisan serve
6.Open Project in Web Browse
To run the laravel project, You have to enter the following URL in your web browser
http://127.0.0.1:8000/
What Next ?
Now you should learn Laravel Routing from scratch. If you like this post, You want more laravel posts with complete explanations, tell me through the below comment box.